Art has always been a way for me to process life, from joyful milestones to deep losses. While studying art therapy, I discovered how instinctively I’ve used creativity throughout my life and with my children, friends, and family. Today I want to share about memory collages—how they became a personal way for me to remember my grandmother, how they can support those with memory loss, and why this creative process is such a powerful tool for healing and connection.
Why Art Therapy Matters
When I went through art therapy practitioner school, I found that so much of it resonated with me, even though some parts, like the brain science, felt challenging. What stood out most was realizing I’d been using art therapy instinctively my whole life. For me, art is not just about making something pretty—it’s about expressing what I feel in a safe way. Painting emotions, listening to music, or even painting during pregnancy has helped me capture and release what words couldn’t. I remember once in Thailand, after visiting an AIDS clinic and seeing suffering I’d never encountered before, I came home and drew the experience. That simple act gave me space to process the overwhelming feelings I carried, and I’ve never forgotten how powerful it felt.
Discovering Memory Collage
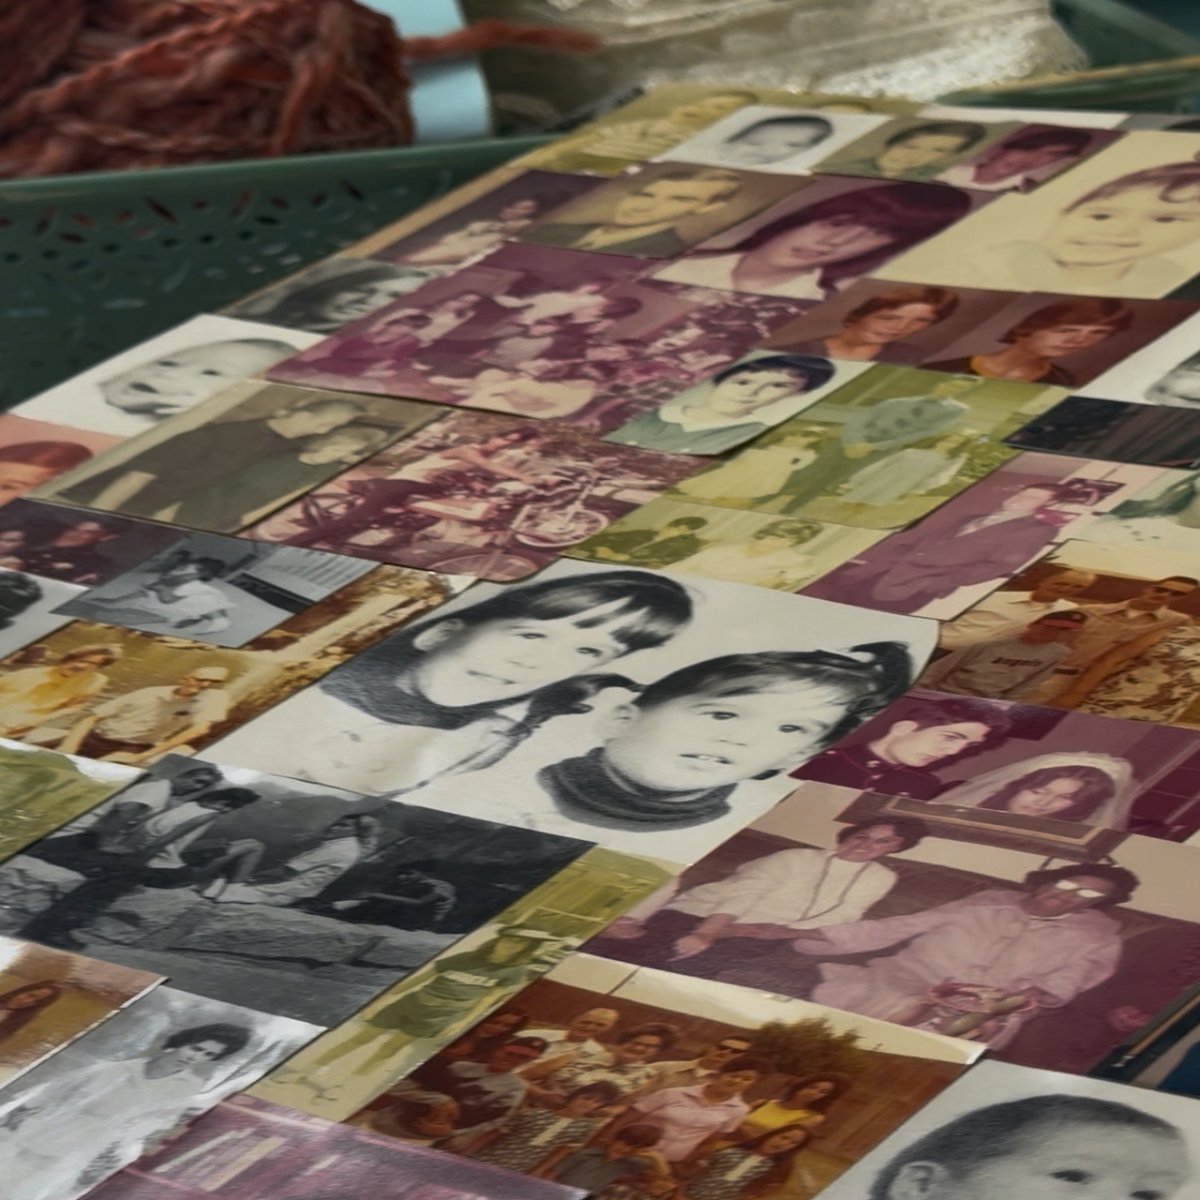
Although this post isn’t strictly about art therapy, I want to talk about one specific practice I love: memory collages. These collages are especially powerful for people experiencing dementia or Alzheimer’s. By working with photos, fabric, or even paint, they help bring back a sense of identity, grounding someone in their family, their story, and their memories. I first tried this project after my grandmother passed away. Looking through old photos, arranging them onto a canvas, and creating something beautiful gave me comfort. It was both a distraction and a healing process, a way to think about her life and our family while keeping my hands busy with something creative.
My Grandma’s Collages
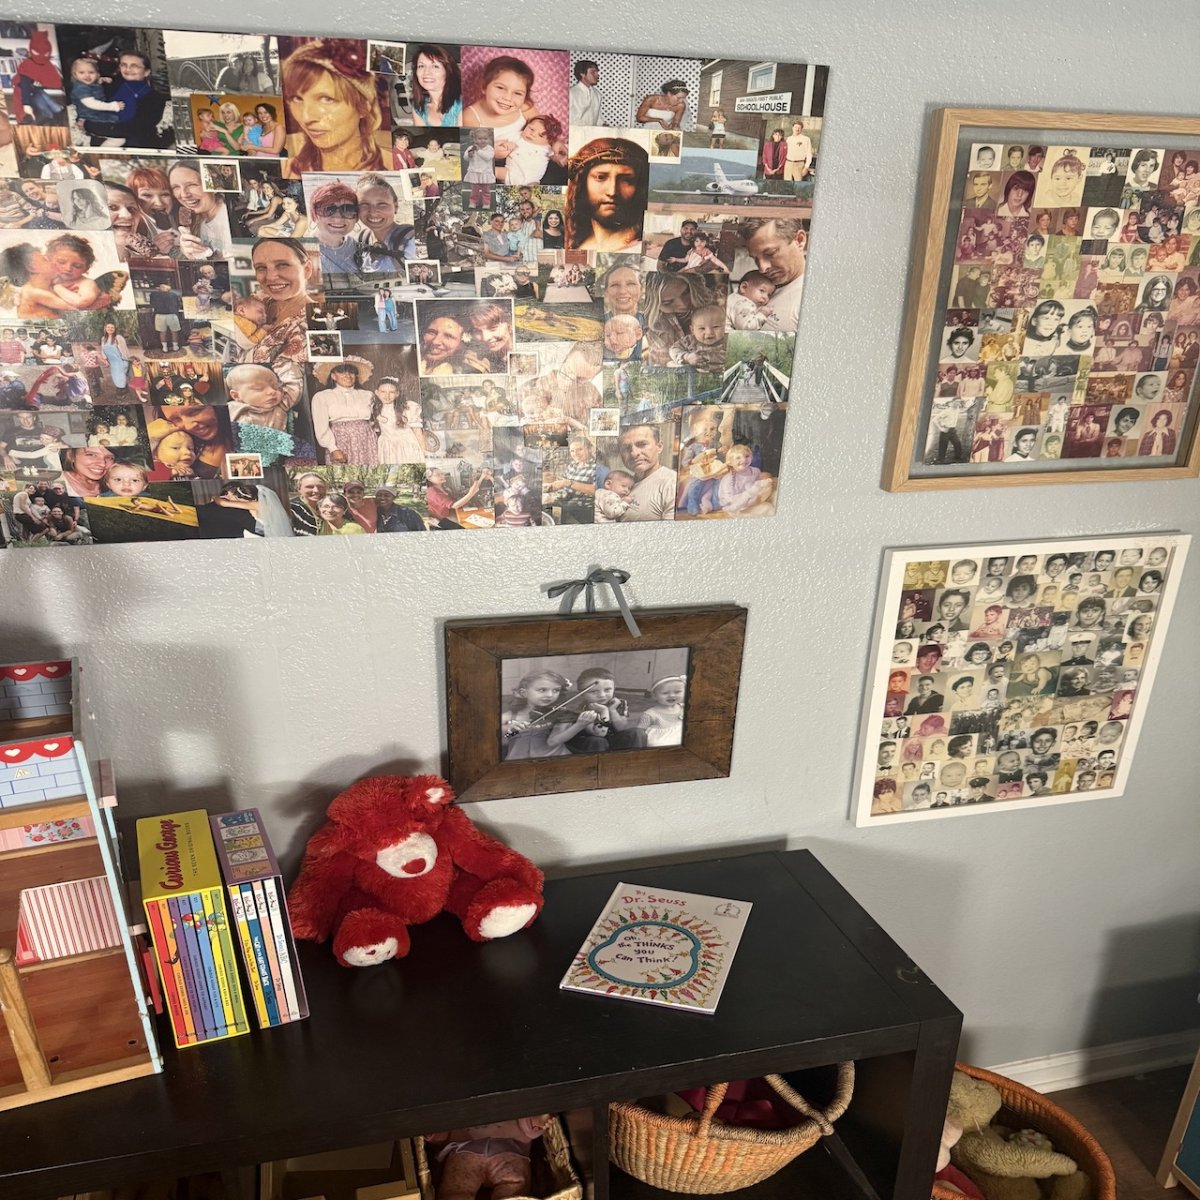
What surprised me was realizing that my grandmother had been doing her own version of art therapy long before I studied it. She had created two memory collages of her own, using old photos, and they hung in her home for years. At the time, I didn’t think of them as “art therapy,” but now I see how intentional and healing they were for her. After she passed, I was able to bring those collages into my home, and they inspired me to make my own. Creating a collage in her memory became not only a way to honor her but also a way to continue her tradition of using creativity to preserve family history.
Different Ways to Make a Memory Collage
The beauty of a memory collage is that there isn’t one right way to make one. It could be as simple as arranging photos on a canvas, or it could include fabrics, beads, ribbons, and layers of paint. Some people prefer scrapbooks, while others enjoy large wall hangings. In high school and early adulthood, I loved scrapbooking—partly because I enjoyed photography so much. This project reminded me of those early days, taking photos that never got used and finally giving them a home. In a digital age, it’s rare that I print pictures anymore, so it felt good to handle physical photos again and put them together in a way that could be displayed.
Making It a Family Project
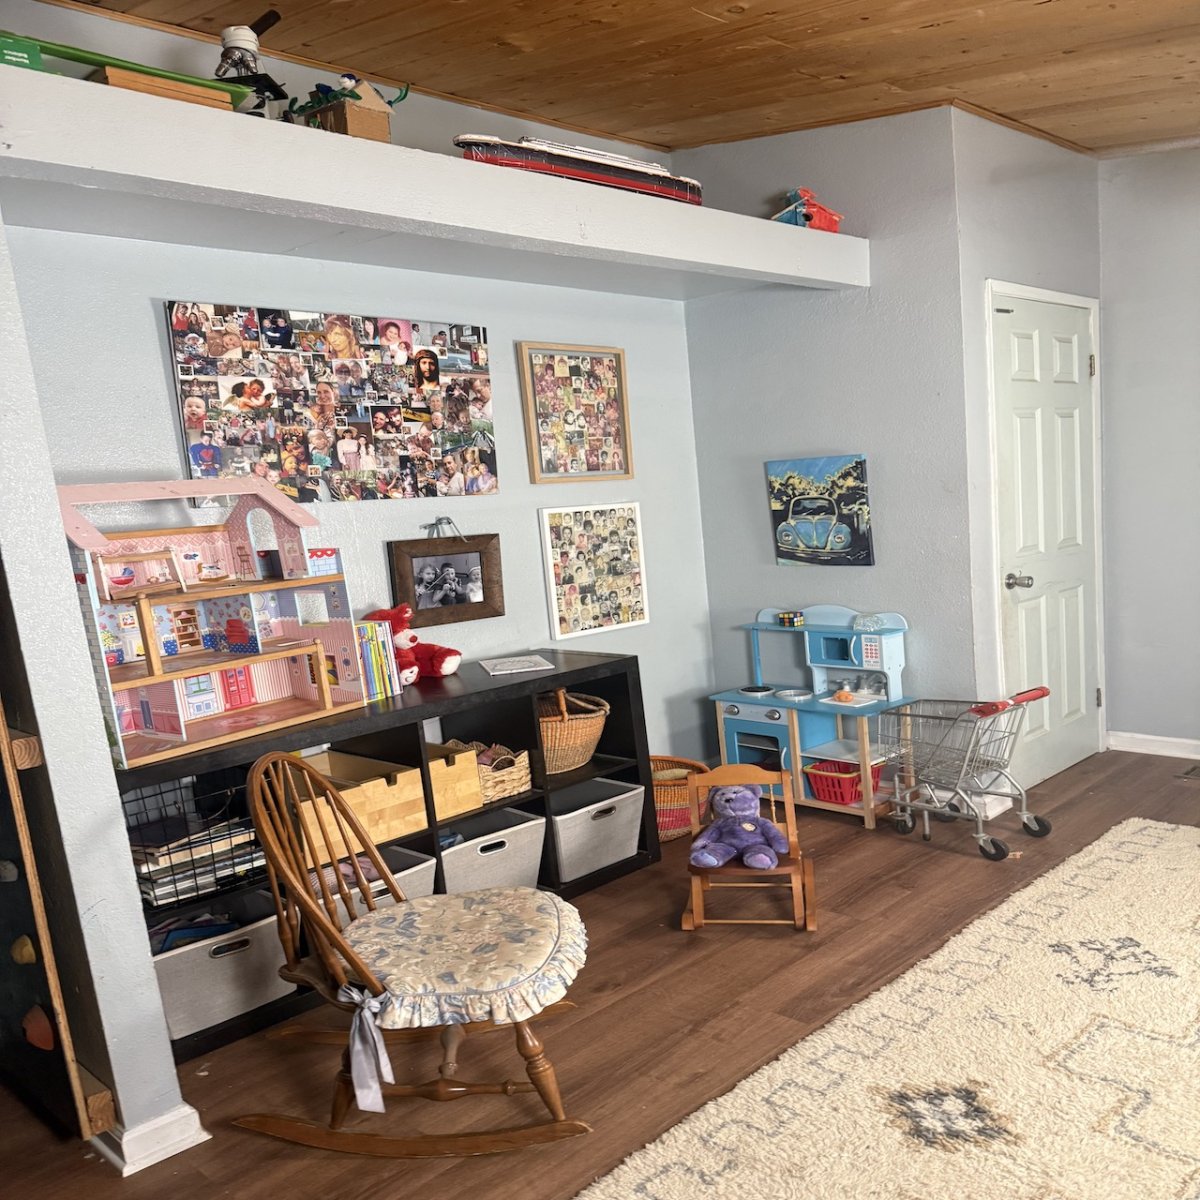
One of the most meaningful parts of creating my memory collage was doing it alongside my daughters. As we glued down pictures of family members, they asked questions about the people they saw and the stories connected to them. It became more than just art—it turned into a conversation about family, history, and love. I placed both my grandmother’s collages and the one I made in our playroom so my children can see them often, point out familiar faces, and ask questions. This way, the collages aren’t just decorations—they are living family stories, always sparking memories and curiosity.
The Creative Process
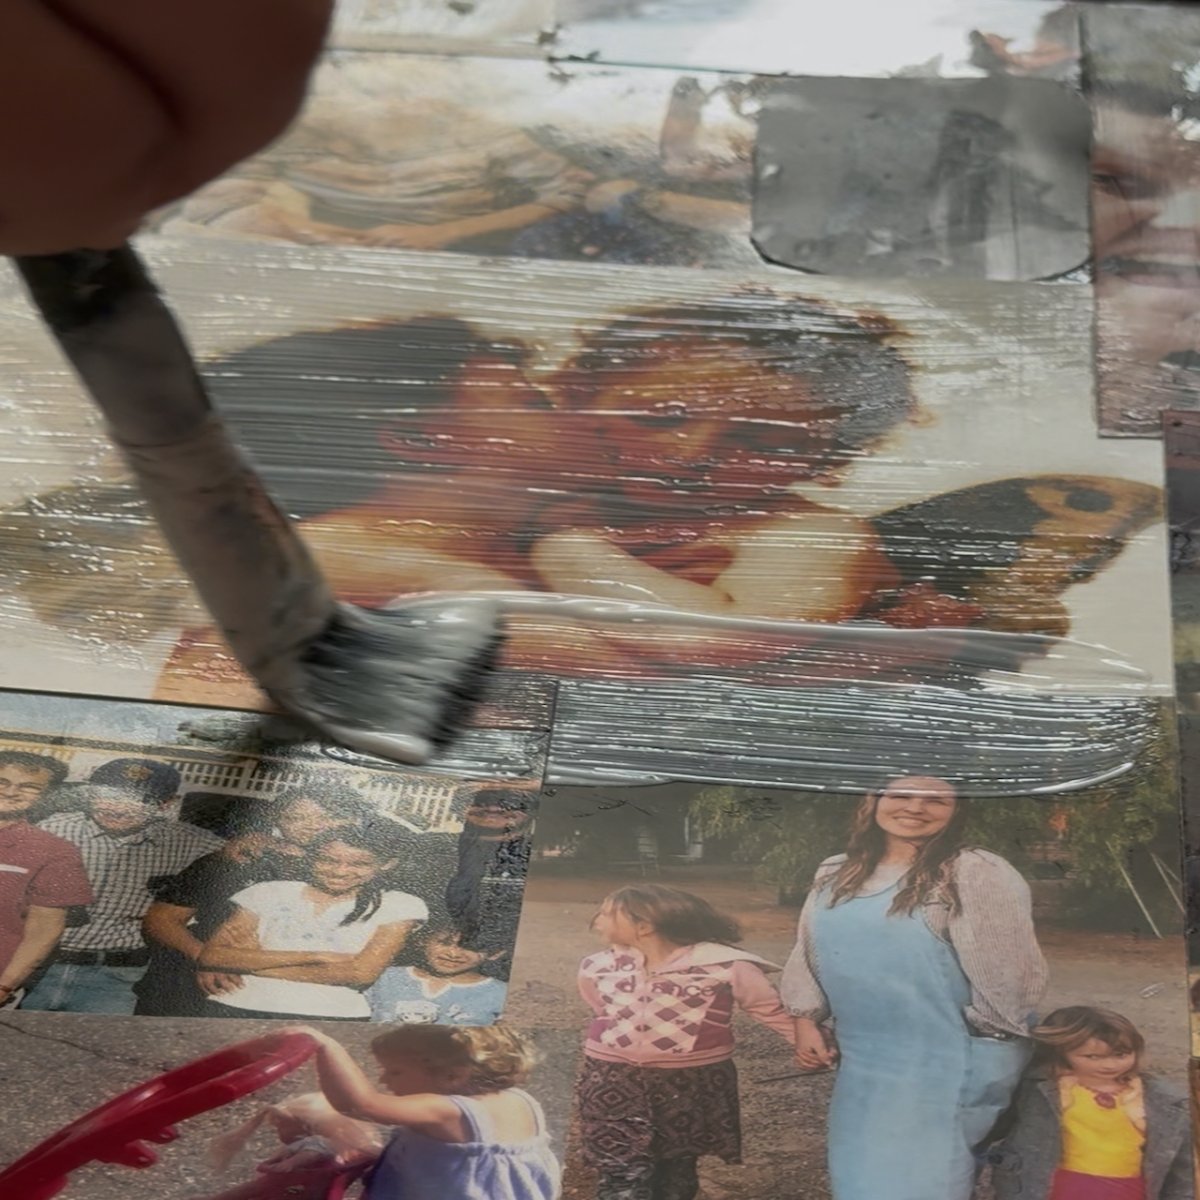
For my memory collage, I used a large canvas that already had an underpainting of a giant tree on it. I never finished that painting, but it turned out to be perfect for this project. The tree felt symbolic—it was like a family tree at first. Then, as I covered it with photos of my family members, the tree disappeared underneath. I loved that meaning: the unseen roots and branches are still there, supporting everything, even if you can’t see them. I glued everything down with Mod Podge, then brushed a layer over the top to seal it all together. The result was something strong, lasting, and meaningful.
Why Memory Collage Matters
Making a memory collage is about more than just putting pictures on a page. It’s about taking time to reflect, to honor, and to connect with both the past and the present. It gives you a chance to sit with your memories, to process your emotions, and to create something beautiful out of loss or reflection. For people with memory loss, it can be a powerful way to connect with their own story and with loved ones. For families, it can be a bonding activity that opens up conversations and creates new memories while remembering old ones.
Art has a way of helping us heal, and memory collages are one of the simplest yet most meaningful ways to use creativity for reflection. For me, making a memory collage after my grandmother’s passing gave me space to grieve and honor her, while also inviting my children into the process. Whether it’s photos, fabrics, or paint, I encourage you to try making a memory collage—it’s not about perfection, but about connection, creativity, and keeping stories alive.
Leave a Reply