


Learn how to modernize a travel trailer. This RV remodel will give you second thoughts on using this space part time! Just a few simple things you need to do to make a huge impact and create a feel of home or an artist escape.
Realistic Expectations
We started a park model travel trailer renovation as a way to earn extra rental income for our family. It was fun, challenging and a good education. Probably more challenging than fun, but we're proud of the final product; so far everyone who we have hosted loves it too! Often when we start a "family project" my mind creates unrealistic expectations for a timeline. Then comes the pain, for example, when I realized it was going to require two extra coats of paint over the two I had in mind. It became a mental game to stay with it coat after coat but in the end we learned valuable information to keep in our back pocket for next time (psst...wallpaper can be your best friend!)
How Do You Update RV Wall Panels?
There are absolutely more ways than one to cover a wall and we found painting is not always the best option, especially in a travel trailer. The three types I used successfully were:
1.) Good old fashioned wall paper
2.) Peel and stick removable wall paper
3.) Interior house paint
Good Old Fashioned Wall paper
I found the benefits of papering to be several; no paint mess/cleanup, fairly easy to hang once you have it down, no odor in a small space (especially if using the cornstarch method), and thiscan be a budget friendly option over some of the pricier peel and stick wall paper.
We hung a heavier weight paper on the wall facing the loft stairs and ran it all the way back around the windows in the loft for an upscale look. Our homemade paste recipe is simply a gallon of water and a cup of corn starch heated in a pan; stir it up till thick and clear in the pan then let it cool. Applying is so easy and it's non-toxic! No worries if one of the toddlers makes a mess and splatters or gets on hands or mouth - no drop cloth necessary either. One can definitely get away with a bit of a mess, since the cleanup is so easy plus floor and carpets won't be damaged or stained. For that reason alone I think I would almost wall paper everything! If I do another trailer, I would choose the least expensive paper not pre-pasted, just old fashioned wallpaper, make my corn starch mix, and just have fun.
(This update just in: After writing this part of the post I noticed some of the corners peeling back. Then I happened to find the directions to my heavy weight grass paper. Due to its thickness and grass material it needed a stronger than normal medium. So something to keep in mind when using thicker wallpaper, make sure you have the strong stuff...After buying the paste from the hardware store to shore up the corners, I also chose to paper the bedroom as well. I felt really good about the process and knocked the whole thing out in a couple of hours. I would have loved to use the cornstarch exclusively of course)
Painting the Walls and Cabinets
In some places I found painting slightly faster or just more customizable for example doing a wash with a color for a linen look. So the wall combinations in the loft ended up a wash of green, a wash of yellow, and wallpaper.
The trailer itself has taken weeks to paint. I wanted white as much as possible because it is the style now, but naturally white keeps everything looking open and fresh. Pinterest examples swayed me hard in the direction of using white in the main room. I love how it turned out, but it was hard work and the most time consuming!
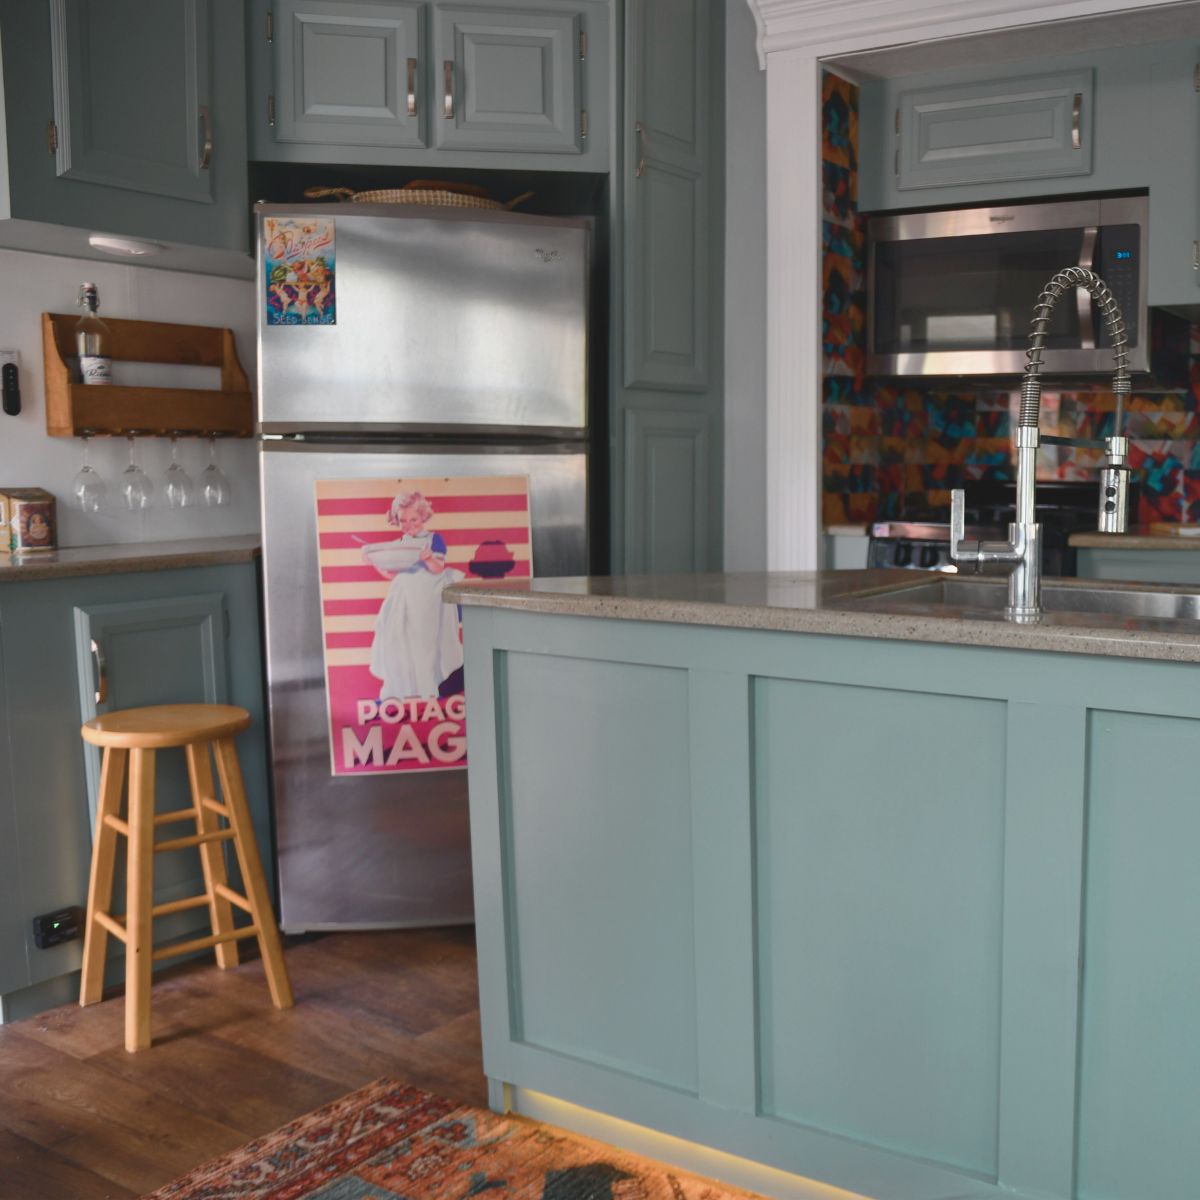
RV Kitchen Area
Removing the cabinet doors and shooting them with an air sprayer went a long way to giving them a professional finish! It is definitely worth the price of a small air sprayer. My husband did two coats for extra measure after prepping(cleaning) and priming them. Make sure to remove all the hinges or replace them for a clean look. when painting the island look for water damage before painting over the wood, I learned that the hard way. The accent wall in the kitchen became my tile backsplash, here is a great way to have fun and add some pattern and color, I found these peel and stick glass tiles at our local Habitat for Humanities store.
Peel and Stick Removable Wall Paper
I can't emphasize enough the importance of cleaning the rv wallpaper surface when using peal and stick(p/s). I must have been tired and missed cleaning an area on a high wall above the bedroom door and it started to peal away a bit. (Time to get out that wall paper paste I bought!). It really pays to have a good exacto knife or blade that you can use in this process. I started out cutting exact measurements and soon realized how much faster and easier it was to overlap seams then trim excess. It's a nice forgiving method for hanging. And generally the p/s wallpaper comes off like a charm when it comes time to update! I found the p/s on clearance at Hobby Lobby for $8/role. It was a great savings, roles can go for as much as $100 dollars!
Wall Covering Summary
Next time I plan to do the p/s white or maybe in regular wallpaper with a fun light pattern for the majority of the walls. There is definitely a reason the walls in a trailer come wallpapered! One important detail whether you choose to paint or wallpaper is to clean those walls, I cannot emphasize this enough! Paint will not cover grime/oils and paper will peel. So prep your wall for the best wall makeover possibilities. Whichever way you choose to update the rv walls, stick wallpaper, stick tiles, white paint, spray paint? updating the rv interior walls will make a huge difference and bring new life to your rv renovation. to
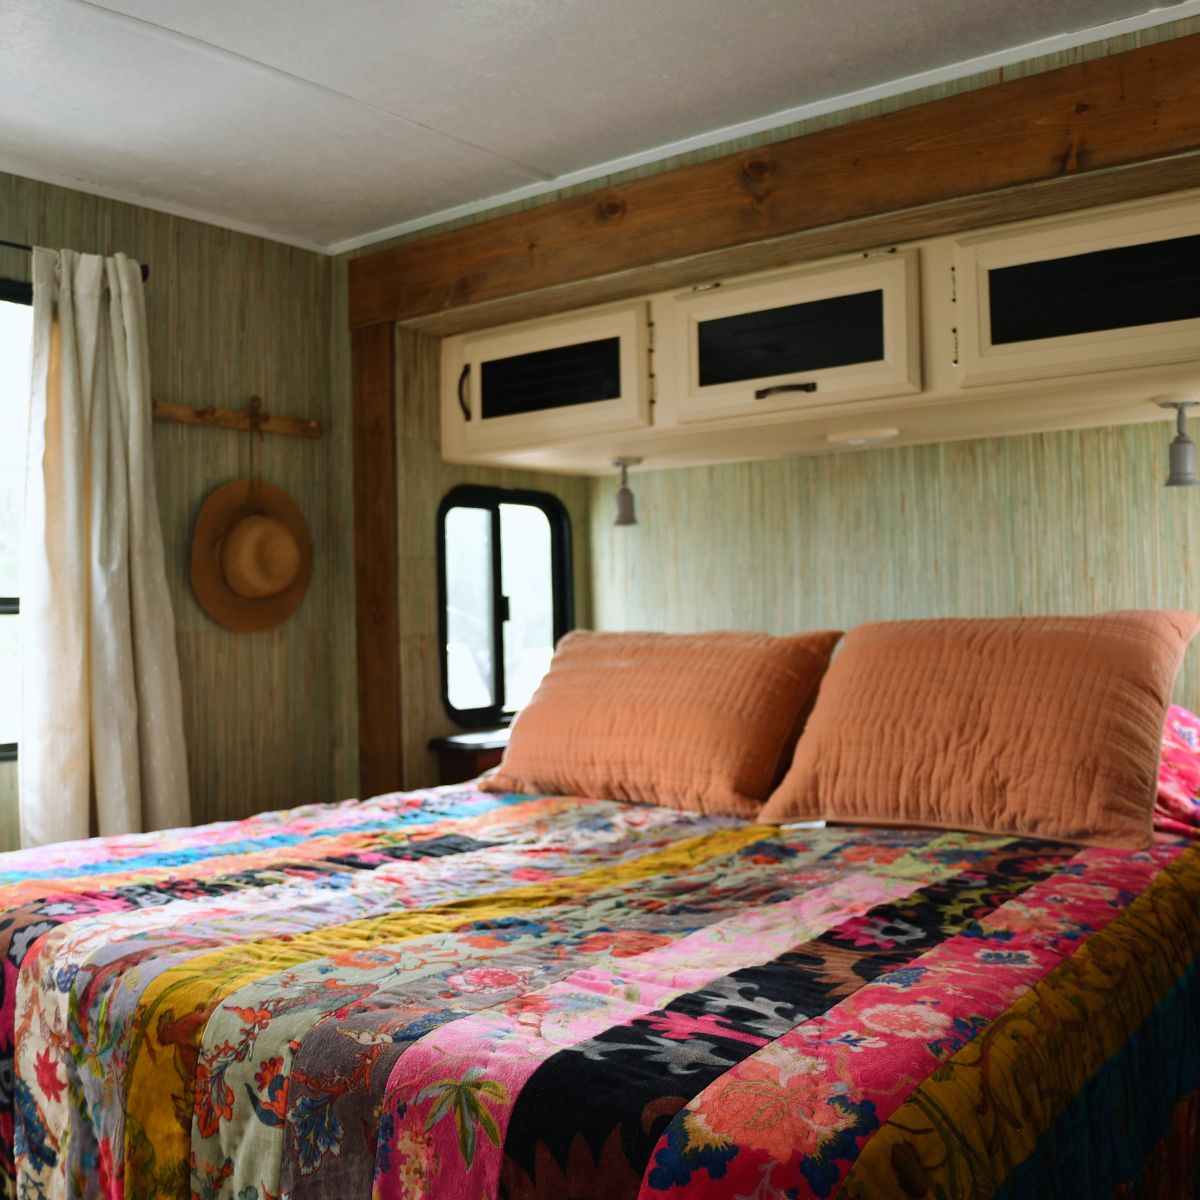
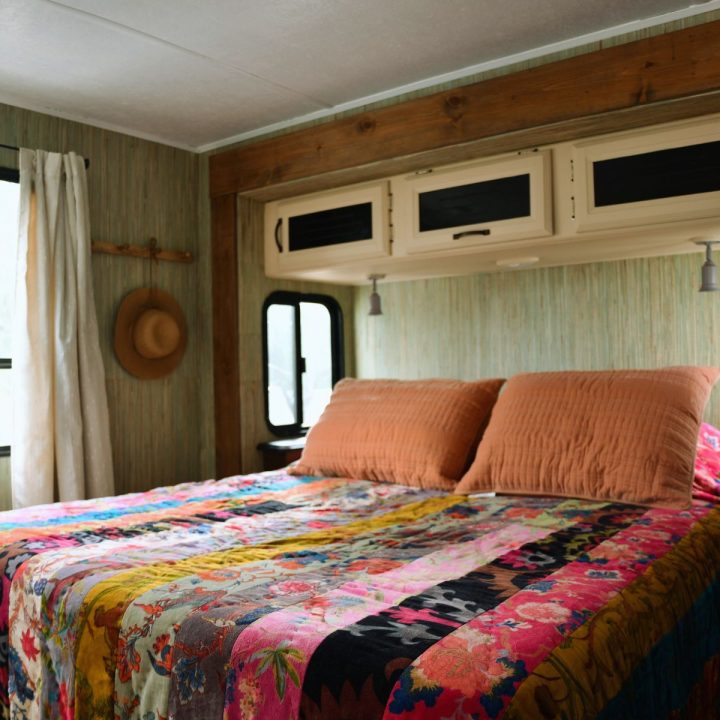
Travel Trailer Trim
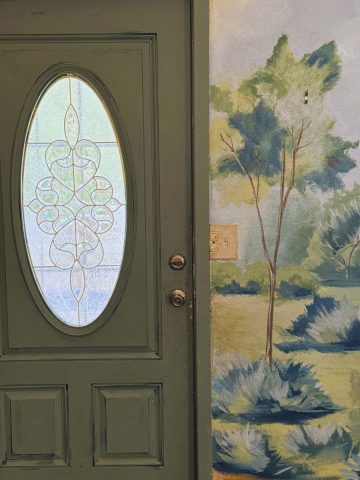
I would have taken off all of the fancy trim molding and replaced with natural stained wood as in the above picture. In the main living area we decided to paint it white so we'll leave that for now. You can see in the above we replaced the trim in the master bedroom with walnut stained pine boards this made a big difference and was an easy diy project that made the biggest impact in this small bedroom. They turned out so beautiful!
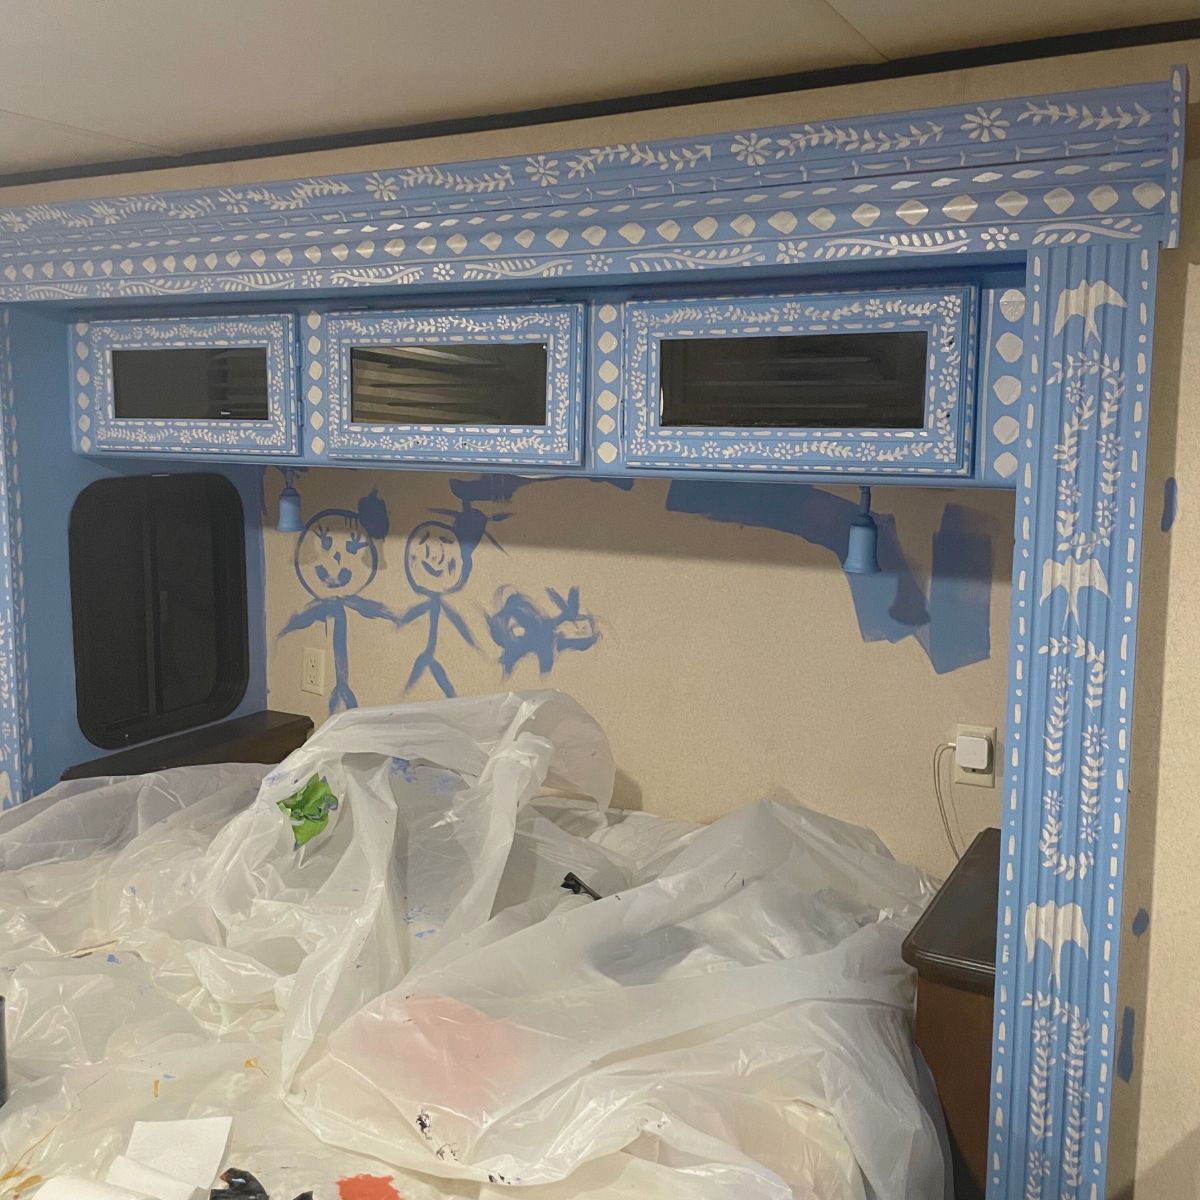
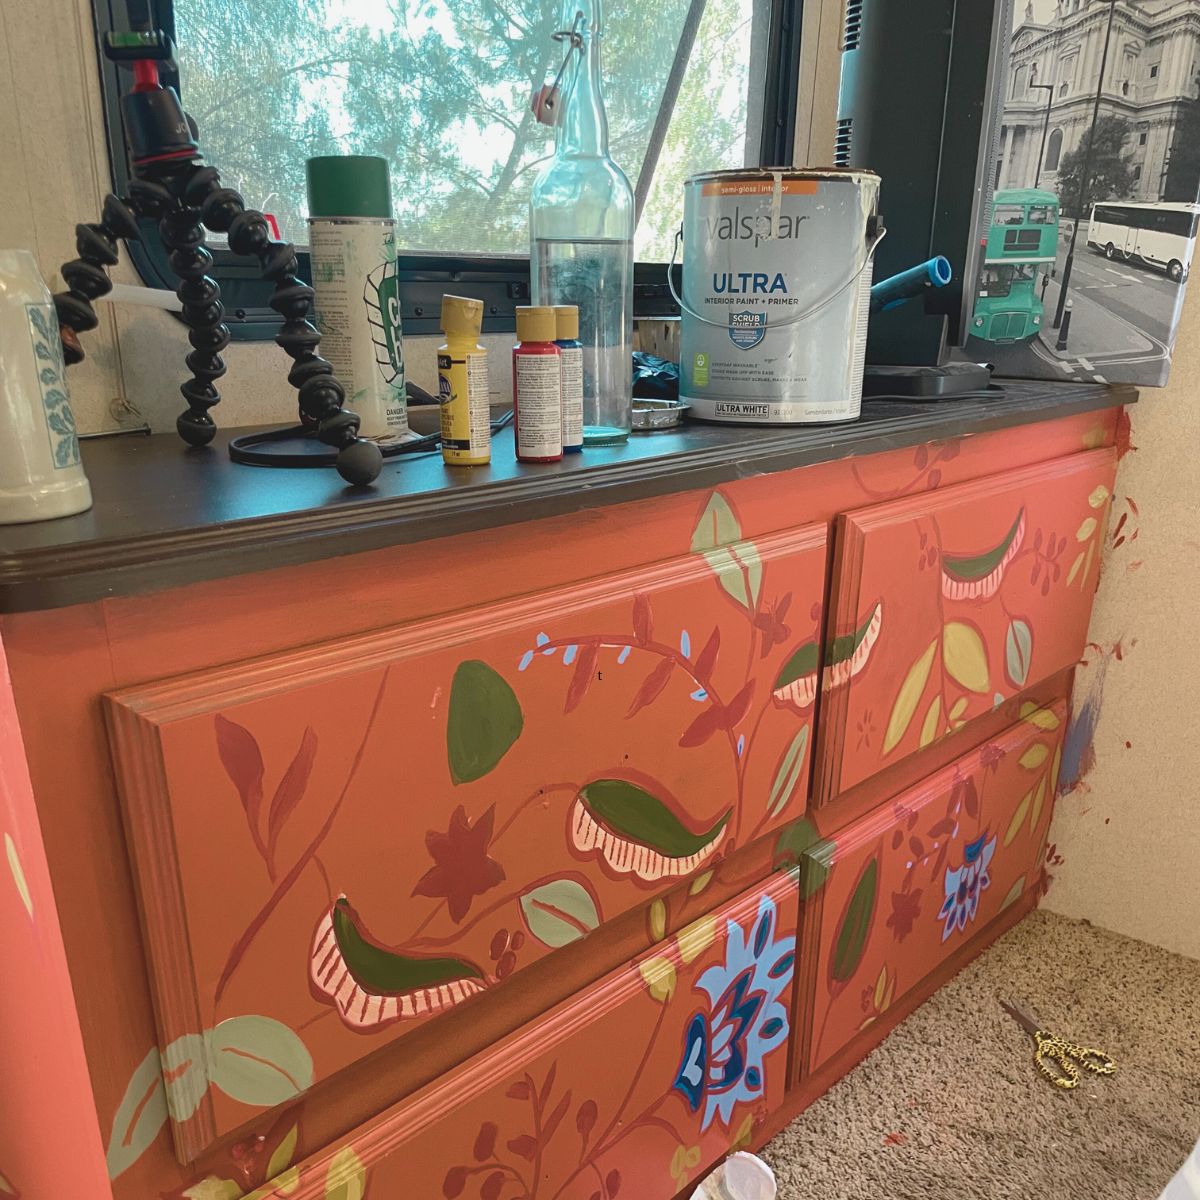
Plan Your Murals!
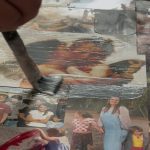
At first I thought I was going to be living in this trailer with half of my children and half in another one while we remodel our home. However, since then we decided to stay in our home and rent this out as I mentioned before. I imagined if I'm staying in this small space I wanted it to have a fun feel so I went slightly paint happy. l found a few ideas and went to town printing a Bohemian style design on each piece of furniture. Then I painted the walls a gray-purple. Haha, it turned out a bit eccentric and overwhelming.
Recipe
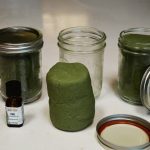
Homemade Wall Paper Paste
Learn to make your own wall paper paste with water and cornstarch! (Best used for regular wallpaper not thick grass like paper)
Materials
- Cornstarch, Water,
Tools
- pot, spoon, container and lid
Instructions
- Add 1 Gallon water to large pot
- Measure out 1 cup cornstarch
- place on low heat
- whisk until blended and clear
- remove from heat and cool before adding to container
Notes
I Use my Instant pots for everything! I like to put this paste in here so I can easily store in fridge with the plastic lid on. I dip my small rollers directly in the pot when applying to wallpaper.
A Hard Lesson for a Free Spirit
After it was all completed I surprised the family and boy were they shocked. In the end, I came to the realization it was not going to work. I ended up double and triple painting in places wasting precious time. I should have spent more time planning the room out, something I'm in the midst of learning to do. Whether using plain old paper and playing with color or more advanced designing application like Canva it will save time and money. This project was proof for me!
Though just a small space, the trailer renovation challenged me in many ways. Everything from design skills, artistic skills, and patience to forcing openness to try new things like hanging wallpaper. They say sometimes small spaces are harder, I think that is true!
In case you are wondering on timeline, I'd say it is definitely not a weekend project, more like several weeks. We couldn't work on it every day all day of course with family obligations but it can be done efficiently using a few of the techniques we learned. Fortunately, we did not have a hard timeline and could be somewhat flexible with how much time we put in. There were a few times along the way I had to apologize to my family for neglecting my other duties or letting the project overwhelm me. So I was reminded to stop from time to time and make sure to show love to everyone around while I shared the work and the joy of a finished project with my family.
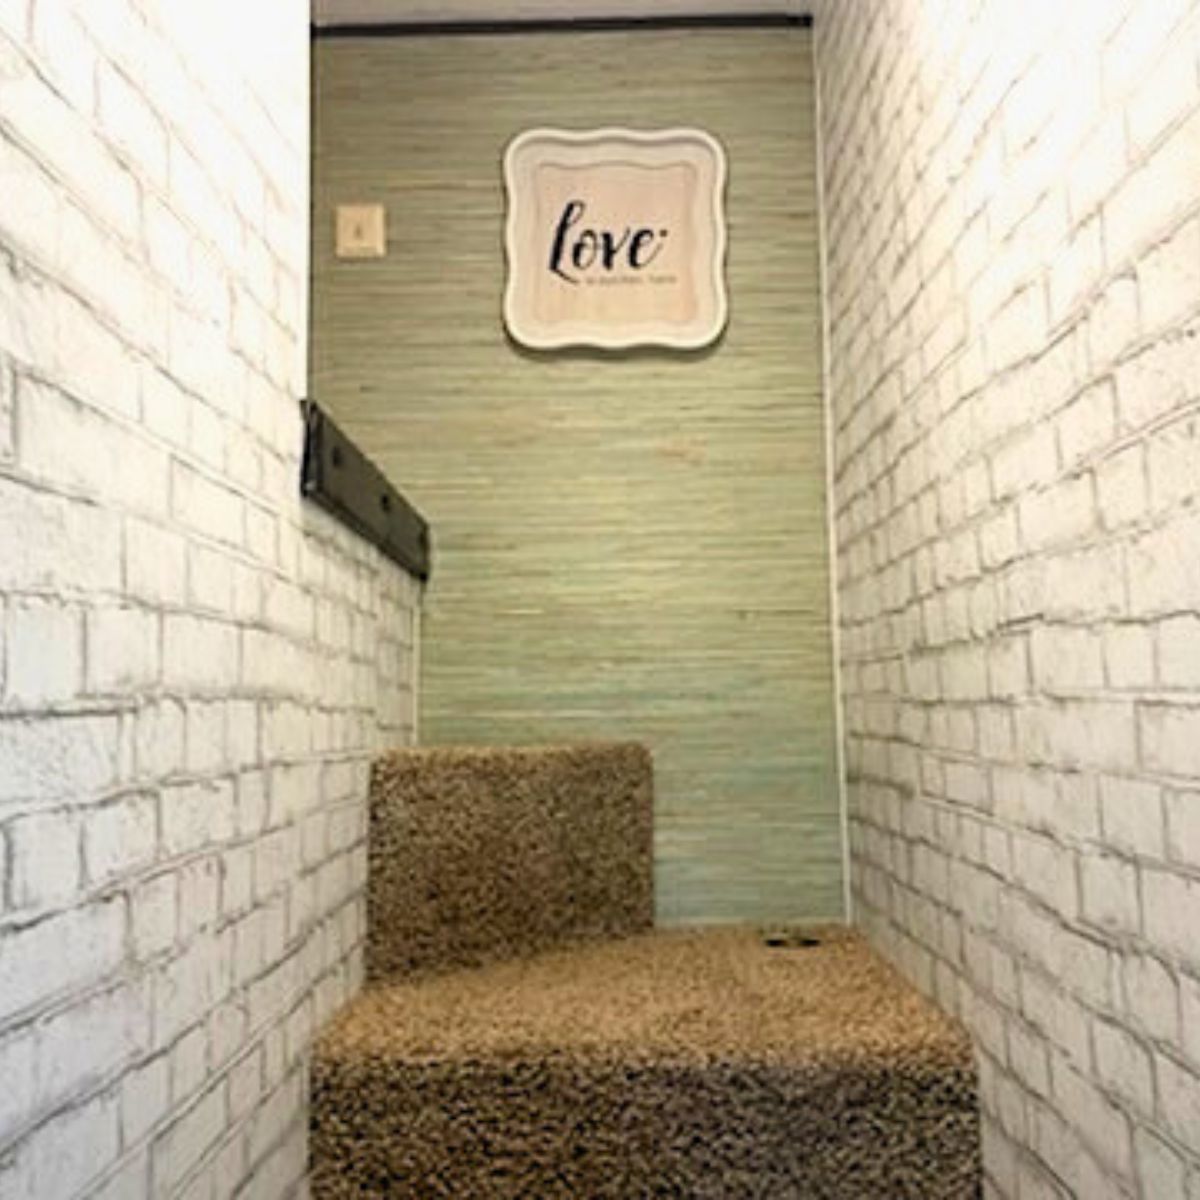
Finishing Touches
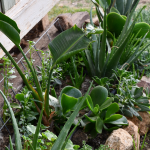
The Best part of this RV remodel was the finishing touches. When We added new black light fixtures and replaced the fan with a small black fan It was a great way to make the space feel new. We replaced all the light bulbs and put in some vintage looking ones in the rv bathroom along with greenery. I love the fact our rv has a skylight in the bathroom, with all that natural light and humid environment my succulents love it in there! I also hung plants from the ceiling in the Living room. Of course buying the throw pillows, rugs, Bed comforters, and drapes were the highlight and I will go in depth with the decorating in a later post. The entire process was a lot of work, but in the end we found affordable ways to make this old travel trailer turn into a home away from home. The interior space is cute and comfortable. We find pleasure in knowing all our hard work has already paid off!


Share a Tip